onTIMEedge – Employee Portal |
Introduction
|
OnTIMEedge is an online timesheet tool that can be used by your workers and clients to submit and approve hours. To use this system, you will need to have a link set up for your agency. Contact People2.0 for more information if you do not currently have OnTIMEedge. To begin using onTIMEedge you will need to set up your Workers, Approvers (Company Contact) and Orders in Stafftrak with onTIMEedge access. This QRG shares the Employee Portal experience for entering hours into Timesheets. |
|
EMPLOYEE PORTAL |
|
|
1 |
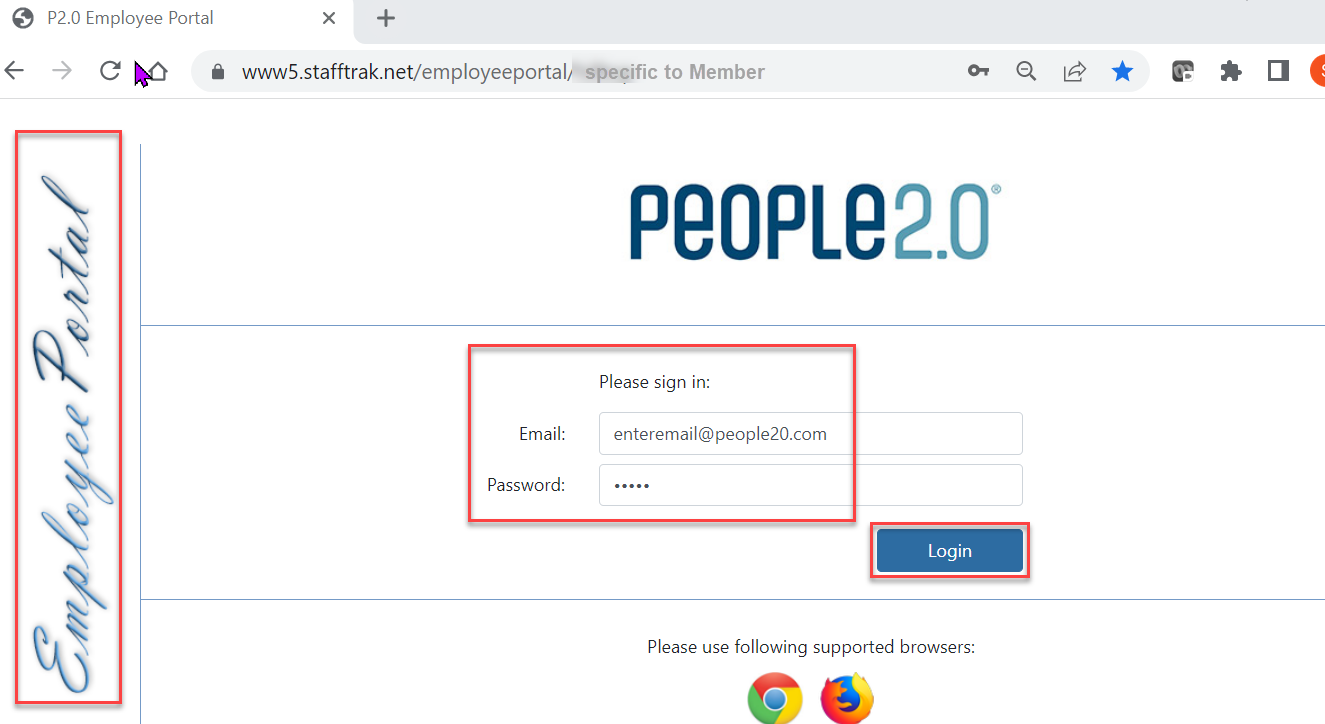
Each Member has their own specific Employee Portal website url link. For this QRG, we use Hilltop Staffing, a test site. https://www5.stafftrak.net/employeeportal/hilltop. Enter in the email and password captured during the Person (worker) step (see other QRG for steps) and select the Login button to access the Employee Portal. |
|
|
|
|
2 |
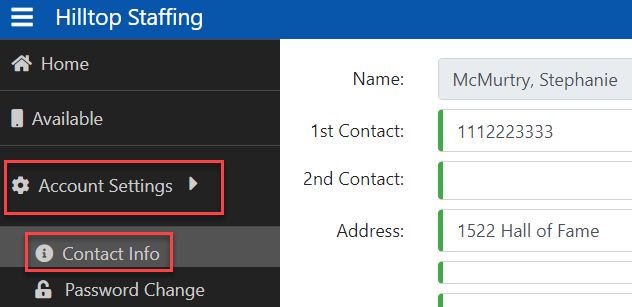
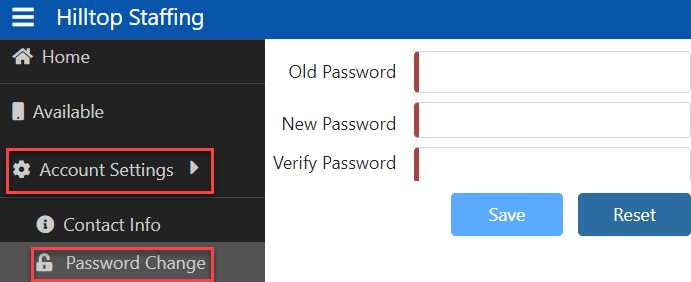
Within the Employee Portal, you may be directed to complete and/or update your information. Select Account Settings, then Contact Info to ensure it is up-to-date. It is recommended to update your Password to one of your choosing. Follow direction from your Staffing Agency for more. |
|
|
|
|
3 |
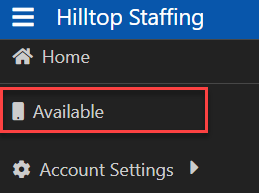
Note: Selecting Available builds a Quick Note which transfers into Stafftrak (for ROE purposes). |
|
|
|
|
4 |
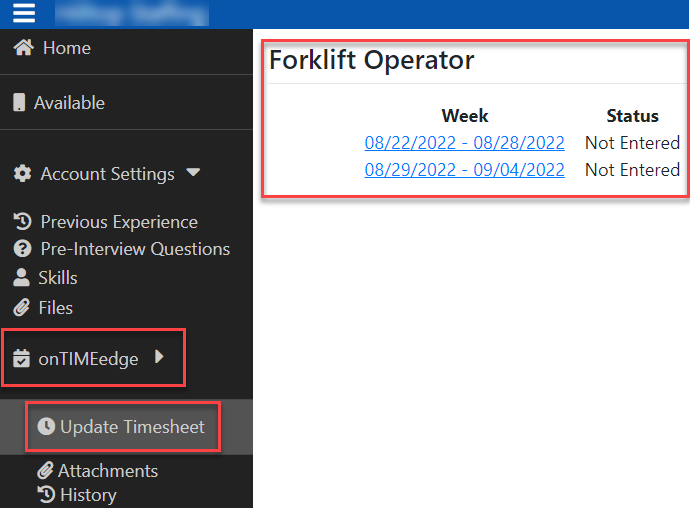
To enter work hours and submit for approval(s), select onTIMEedge in the left menu to expand options, select Update Timesheet, then select the desired work week shown. |
|
|
|
|
5 |
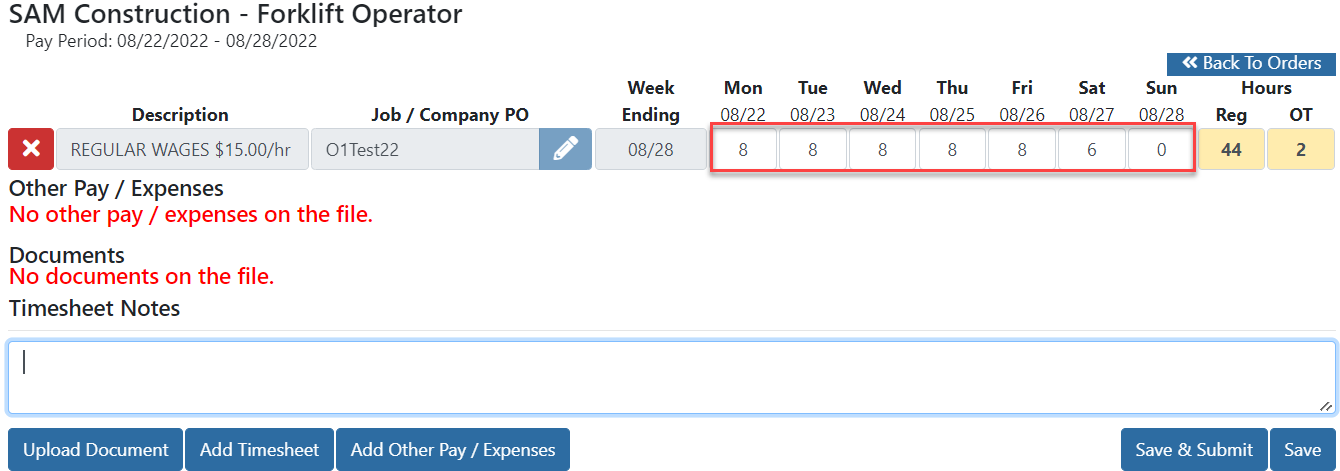
Enter hours worked. The system will calculate Reg and OT based upon how you set up the Order file. Note: Do not enter hours for Statutory holidays unless you physically worked on the holiday. |
|
|
|
|
6 |
Select Save to keep what has been entered with option to add/adjust later. OR select Save & Submit to save what is entered and submit it to your Approver. Once Save & Submit is chosen, the Employee not make any changes, and will need to reach out to their Approver. |
|
|
|
ADD TIMESHEET LINES |
|
|
1 |
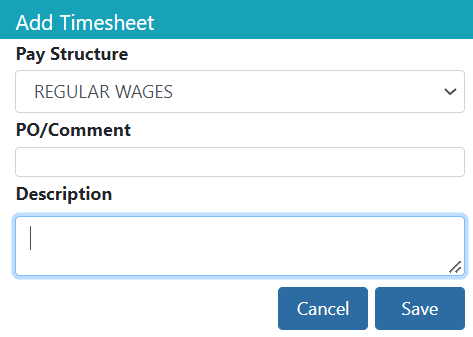
To add additional timesheet hours for multiple projects, select Add Timesheet. From the pop-up, enter in appropriate information and select Save. Enter hours in for the new timesheet line. |
|
|
|
UPLOAD A DOCUMENT |
|
|
2 |
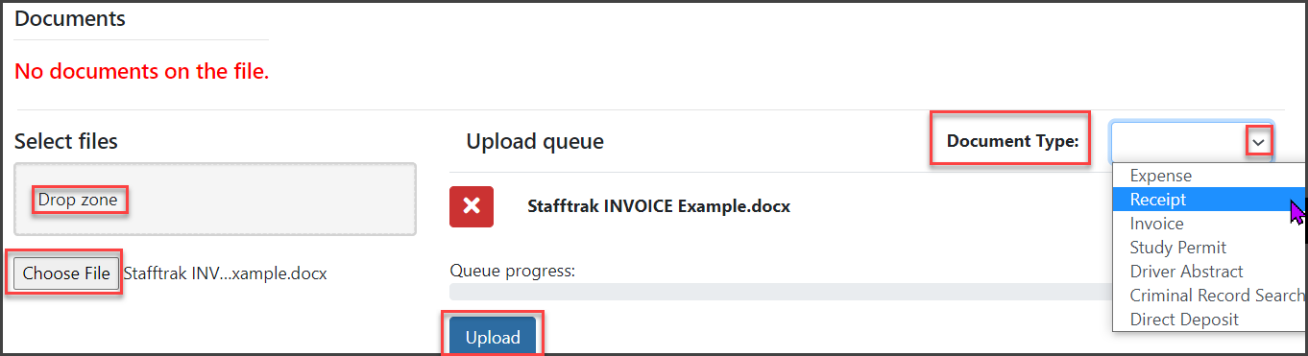
To attach documents to be sent along your timesheet to your Approver, select Upload Document. Next select Choose File and navigate to the document file you wish to upload (or drag and drop into the Drop zone box), select the proper Document Type option, and finally select the Upload button. |
|
|
|
|
3 |
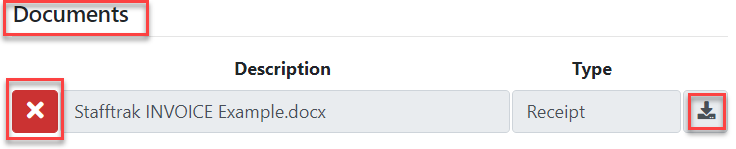
The file is now seen under the Documents area. To remove the file, click on the X in the red box to the left of the document name. To download the document again click the arrow on the right side of Type. |
|
|
|