OnTIMEedge is an online timesheet tool that can be used by your workers and clients to submit and approve hours. To use this system, you will need to have a link set up for your agency. Contact People2.0 for more information if you do not currently have OnTIMEedge. To begin using onTIMEedge you will need to set up your Workers, Approvers (Company Contact) and Orders in Stafftrak with onTIMEedge access.
Order file set up ensures proper timesheet dates and Client Approval fields are in place.
SET UP PERSON FILE (WORKER)
1
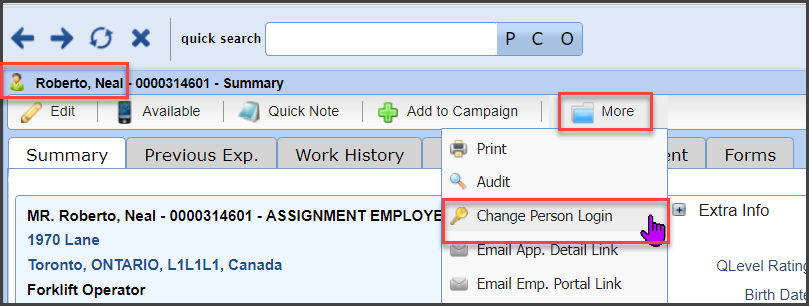
From the main Stafftrak screen, locate the Person file for the employee/worker. Select the More menu, then select Change Person Login.
2
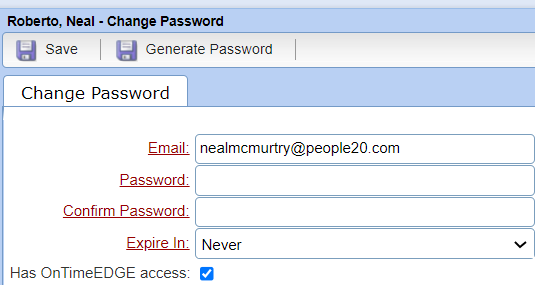
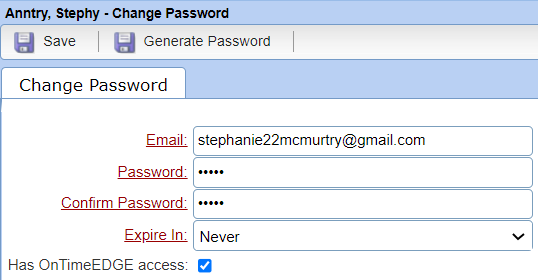
The Person email will automatically be filled in. Be sure to verify the email and edit as necessary.
You may set the Password to be system generated or you may manually enter a desired password.
Select the desired Expire In option and checkmark Has OnTimeEDGEaccess. Finally, Save.
SET UP PERSON FILE (APPROVER)
1
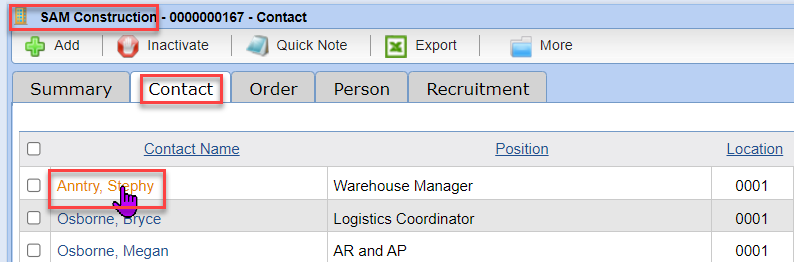
From the main Stafftrak screen, locate the Company file of the approver. Select the Contact tab. From the list of Contacts, click on the name of the approver Person. This will take you to their Person file.
2
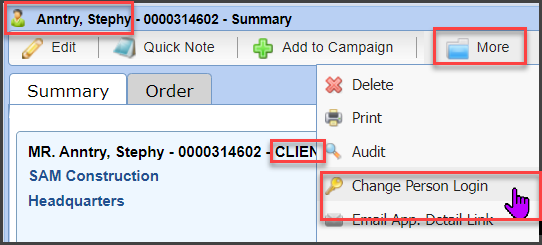
Within the Person file (note they are a Client type). Select the More menu, then select Change Person Login.
3
The Person email will automatically be filled in. Be sure to verify the email and edit as necessary.
You may set the Password to be system generated or you may manually enter a desired password.
Select the desired Expire In option and checkmark Has OnTimeEDGEaccess. Finally, Save.
SET UP ORDER FILE
1
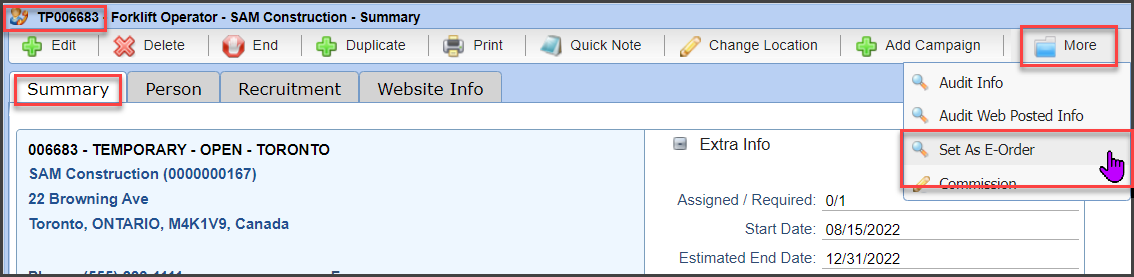
From the main Stafftrak screen, locate the Order file. From the Summary tab, select the More button, then select Set As E-Order.
2
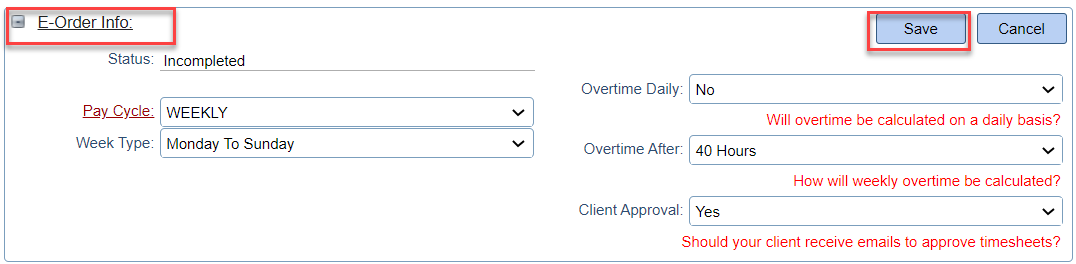
Within the Order screen, scroll down to the E-Order Info section.
Select the desired Pay Cycle choice. Select the appropriate Week Type.
Select the appropriate options for Overtime Daily, Overtime After, and Client Approval.
Select Save when finished to set the changes. Note: the below screen is an example.
3
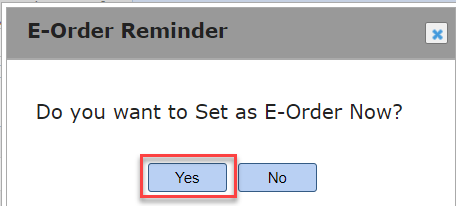
Stafftrak will verify with a prompter dialog box – Do you want to Set as E-Order Now? Select Yes
4
Note: Once an e-order is started and workers start entering hours, you will not be able to make changes to the e-order fields.
5
To make timesheets available to your Worker(s) and Approver(s), return to the More menu, select Set as E-Order, then select Start.