Add Contractor Person File |
Introduction
|
An Independent Contractor is a business owner who will invoice for work completed. They are not an employee and therefore are not subject to the same payroll deductions of an Assignment Employee. These individuals must be set up and paid differently than Assignment Employees to ensure compliance with CRA rules. It is critical to ensure proper set up. |
QUALIFY A CONTRACTOR
1
A Contractor must supply information which qualifies them as an Independent Contractor.
Below is a list of items that minimally must be collected and submitted to People2.0 for review before they can be paid.
- Proof of Business Registration – Master Business License (For a Sole Proprietor)
- Articles of Incorporation /First page of Incorporation paperwork – (For Incorporated Contractors)
- Direct Deposit Authorization (name of void cheque should be the same company name)
- Proof of HST/GST number – Validate GST number – print out from CRA
Validation Website: http://www.cra-arc.gc.ca/esrvc-srvce/tx/bsnss/gsthstrgstry/trms-eng.html
- Marketing Material – such as linkedIn Profile print out, Business Card
- Signed Independent Contractor’s Agreement
- WCB Clearance Letter – Alberta Only
ADD A CONTRACTOR PERSON FILE
2
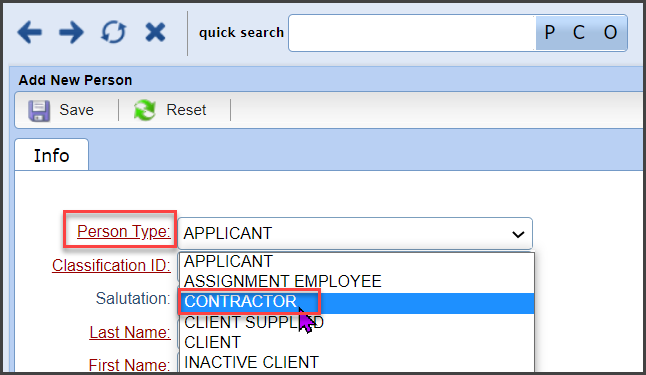
At the main screen of Stafftrak, select the Add a Person toolbar button.

Within the Person Type drop-down, select Contractor.
Selecting Contractor as the Person Type, will adjust fields being displayed to accommodate for Contractor information. Enter the full legal Business Name and GST Number (ensure you include the extension RT0001), then select the Validate button.
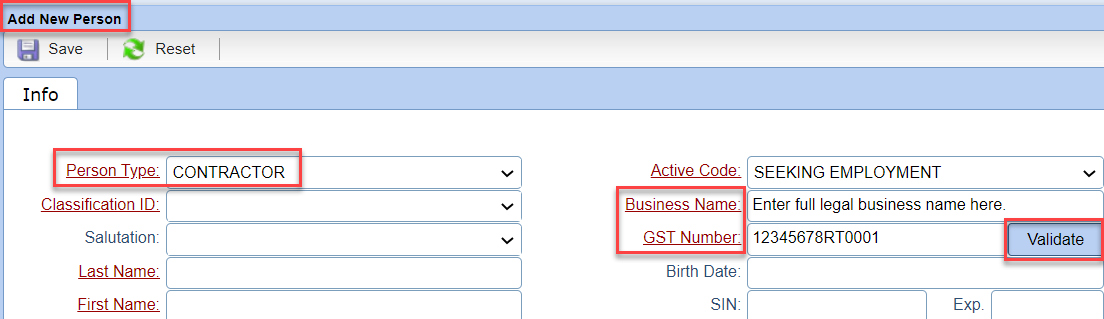
By selecting the Validate button, you are directed to the CRA website to search for and validate the information. If this step is not completed, the file cannot be saved.
At the CRA website, read the information and select the I agree button to continue.
Enter the GST/HST number, full business name and the current date, then select Search.

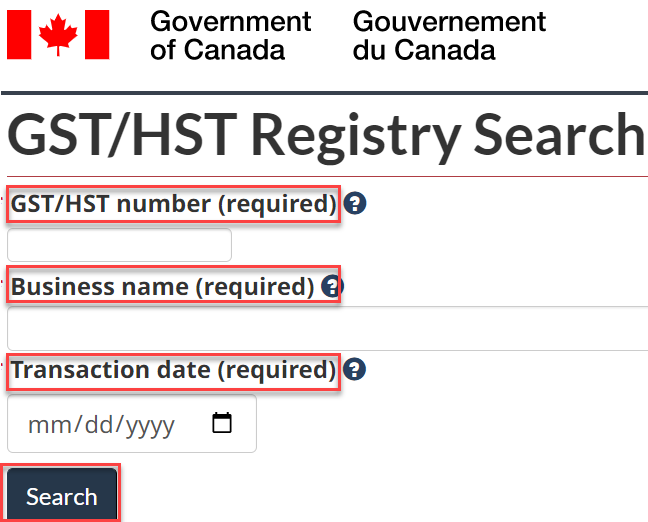
If the search is successful, you will be given the option to save as PDF or print the confirmation. Ensure you keep a copy of the validation and upload it to the Documents area of the Person file.
8
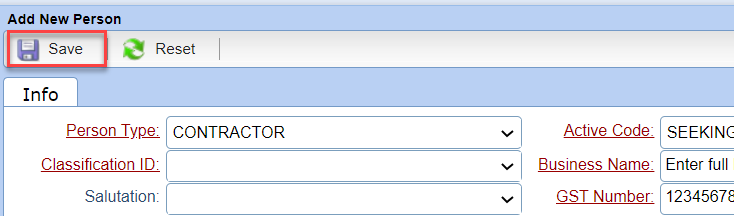
Enter minimally all required fields (red labels). Finally, select the Save button to Save the Person file.