Documenting with Notes and Tasks |
Introduction
|
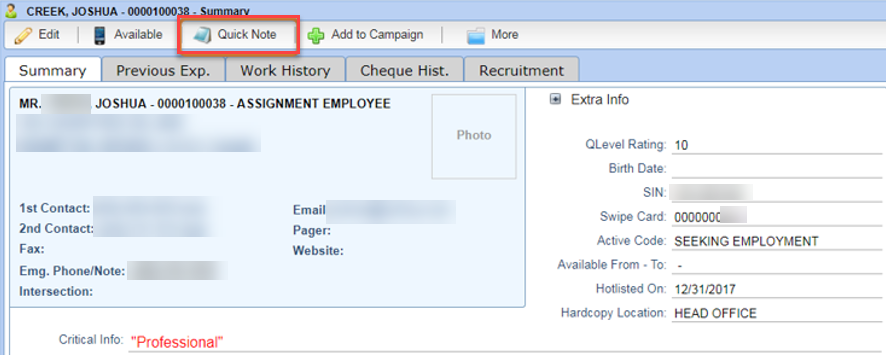
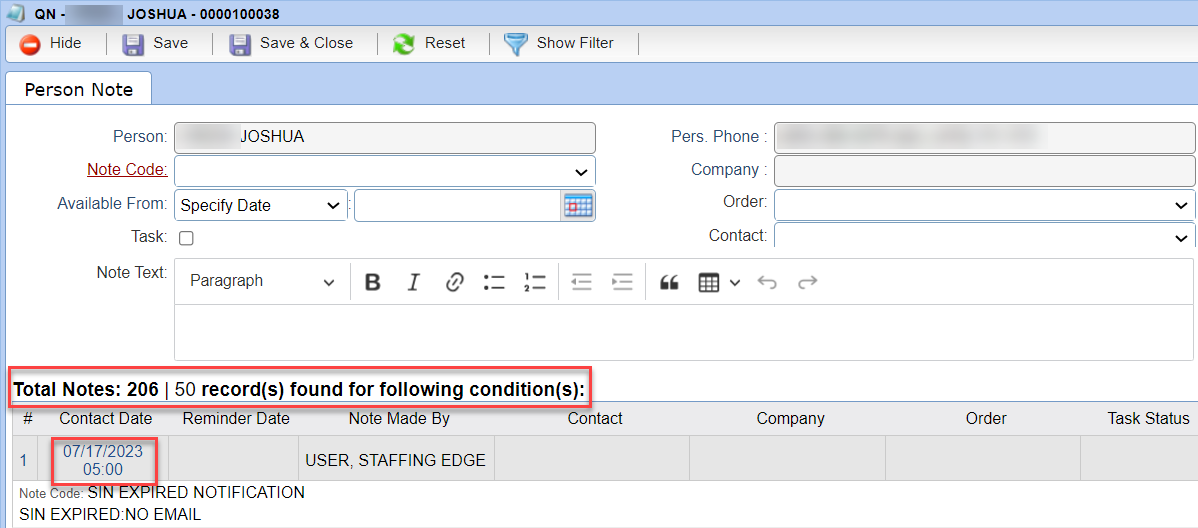
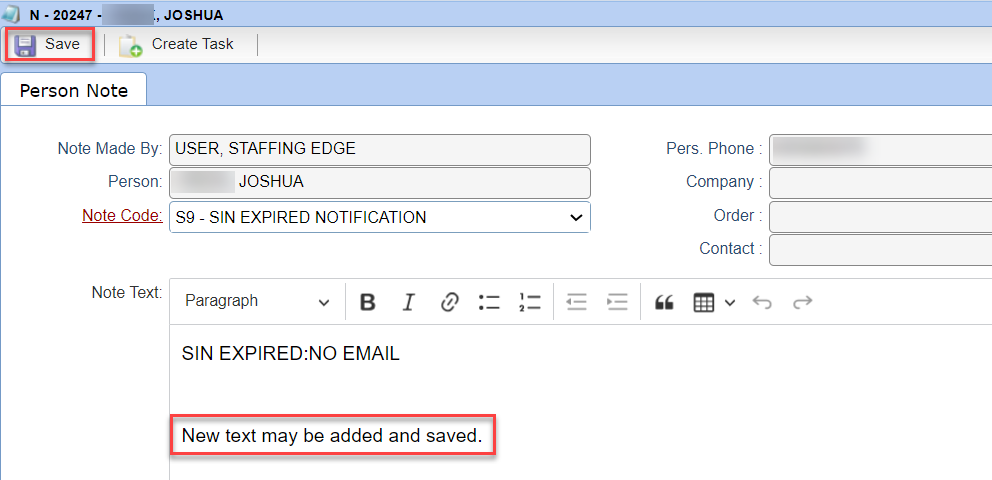
Quick Notes are a fast and easy way to document any communication you have with an employee, a company contact, or to read internal People2.0 communications. Quick notes are printable and you can easily filter through all notes to find a specific note or group of notes. |
ADVANCED SEARCH |
|||||||||||||
|
1 |
On the main screen of Stafftrak, next to the quick search text box, select P for Person; C for Company; or O for Order. |
||||||||||||
|
|
|||||||||||||
|
2 |
Within each – P, C, O – review the drop-down options showing what you may use as criteria drill-down. |
||||||||||||
|
|
|||||||||||||
|
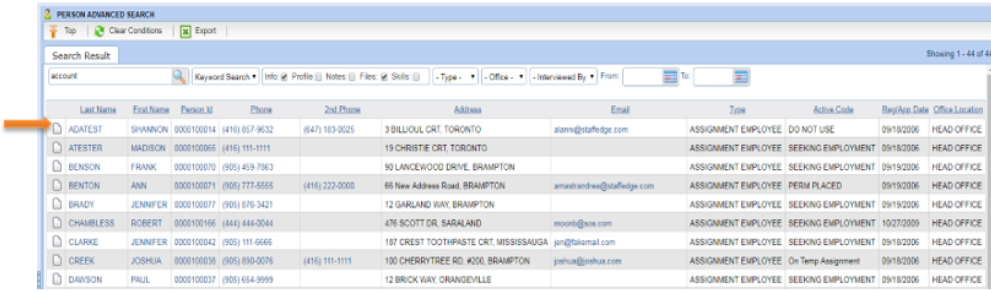
3 |
Checkbox options determine what area within Stafftrak you are searching. For example, Notes would search within the Quick Notes area, Files searches through attached documents of the file. These options make the Search much more pin-pointed and robust. |
||||||||||||
|
|
|||||||||||||
|
After you have made your Search selections, to see Search results, select the magnifying glass. |
|||||||||||||
|
|
|||||||||||||
|
5 |
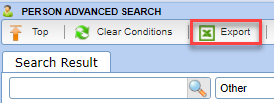
Select the Export button to have resulting Search data downloaded in a Microsoft Excel file. |
||||||||||||
|
|
|||||||||||||


ADVANCED SEARCH USING KEYWORDS |
|||||||||||||
|
1 |
On the main screen of Stafftrak, next to the quick search text box, select P for Person; C for Company; or O for Order. |
||||||||||||
|
|
|||||||||||||
|
2 |
Within each – P, C, O – from the drop-down, select Keywords. Type keywords and select the Magnifying glass icon to see the search results. |
||||||||||||
|
|
|||||||||||||
|
3 |
Checkbox options determine what area within Stafftrak you are searching. For example, Notes would search within the Quick Notes area, Files searches through attached documents of the file. These options make the Search much more pin-pointed and robust. |
||||||||||||
|
|
|||||||||||||
|
4 |
After you have indicated your Search selections, to view Search results, select the magnifying glass. |
||||||||||||
|
|
|||||||||||||


|
5 |
Select to the left of the search results line to see where the keyword was found. A pop-up box will show the details. |
|
|
|
|
6 |
Select the Export button to have resulting Search data downloaded in a Microsoft Excel file. |
|
|
|