
Master Timesheet Instructions
Introduction
Stafftrak’s Master Timesheet function allows the ability to upload your assignment employee’s payroll hours directly into Stafftrak. This function improves accuracy, reduces payroll and billing errors, and saves time spent manually entering hours. Below are the basic steps for this process. Select the links to view detailed step-by-step instructions.
- Set up Stafftrak Company file – For any customers you wish to have a master timesheet for, you must first set up their Stafftrak Company file to indicate a Timesheet Type of Customer Requires Timesheet.
- Generate a Master Timesheet Template – The Master Timesheet is an Excel template that is generated through Stafftrak. This Excel template produces a list of active assignment employees at a selected Company. The template includes the workers First and Last Name, Person ID, Order ID, order PO, and start/end time.
To generate the Master Timesheet from the Payroll area of Stafftrak, on the Master TS tab, checkmark each customer line you wish to have a master timesheet built for, and select Create. The template can be generated for each pay period and sent to your customer so they can record hours for each worker and send the completed file back with hour values and as the approval of those hours.
- Upload Master Timesheet – Once approvals and the completed master timesheet file are received, your payroll team can create the payroll run by uploading the spreadsheet directly into Stafftrak using Tools, Excel Import. The approved Master Timesheet should be saved as your backup for payroll, invoices and future audits.
Set up the Stafftrak Company File
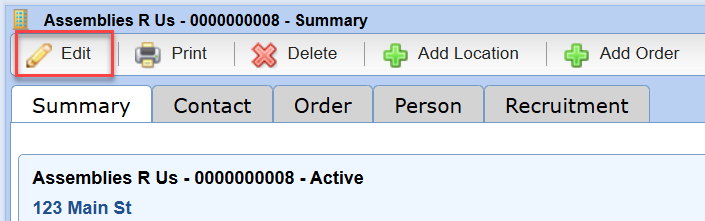
- Within Stafftrak, open to the proper Company File, and select the Edit button (pencil icon).
-
- Locate the field, Timesheet Type. From the drop-down option, choose Customer Requires Timesheet. Select the Save button to finish.
-
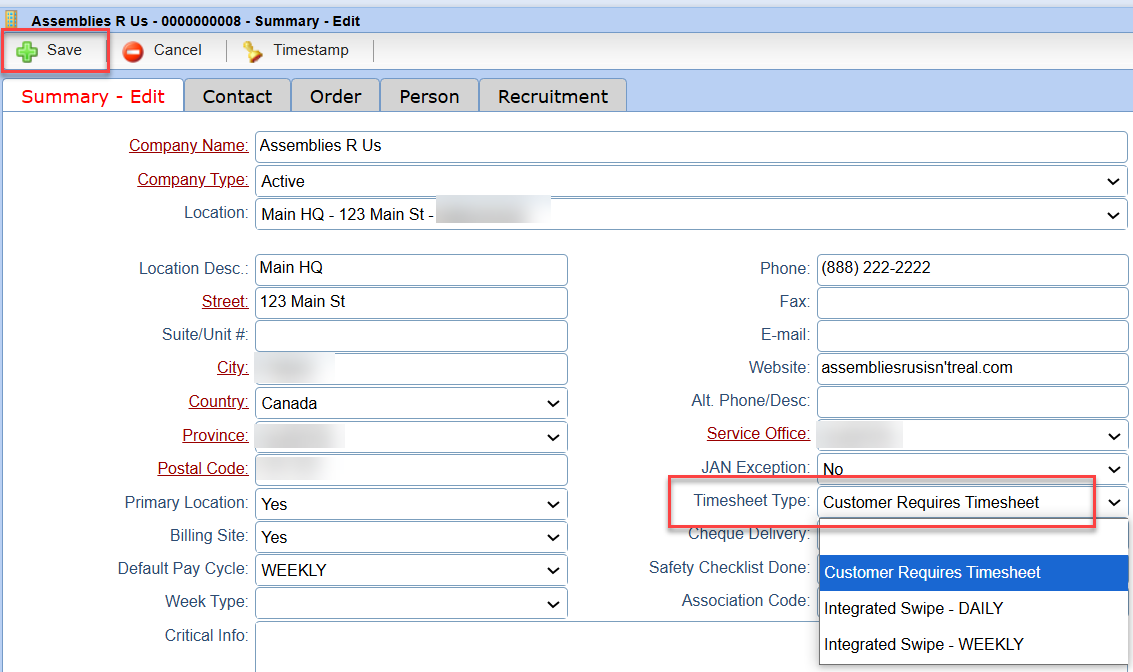
Note:: Be sure to set up all Locations for a Company to be Timesheet Type equal to Customer Requires Timesheet.
Generate a Master Timesheet
- Within Stafftrak, select the Payroll toolbar button (gold dollar sign icon).
-

-
Note: To access the payroll screen you will require Stafftrak payroll permissions.
-
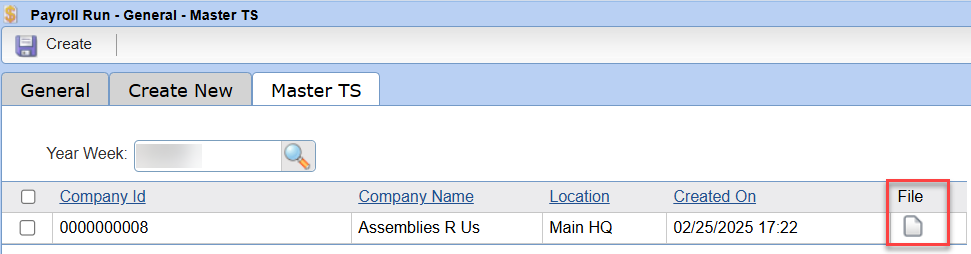
Select the Master TS tab in the payroll screen, and checkmark each box for the Company record line you would like to create a master timesheet template.
Select the Create button.
-
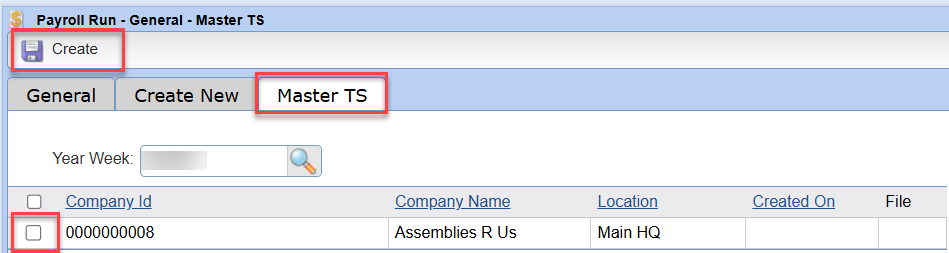
Note:: If the setup was not completed on your Company file, and all of its Locations, the Company name will not appear here.
-
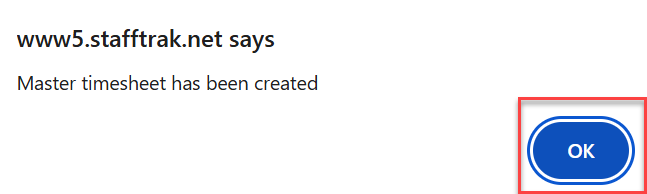
A confirmation dialog popup message will appear stating the Master timesheet(s) has been created. Select the OK button to finish.
-
- Notice there is now a file document icon in the File column. Select the file document icon to download each of the master timesheet and save them where you desire. When saving the file, be sure to use a descriptive name [ex: Company Name – Master TS – Pay Period Date]
-
-
The Master timesheet template is a Microsoft Excel file. Open the Excel file and review its information to ensure it is complete and correct. After reviewing you can send to each customer via email.
-

Upload a Master Timesheet
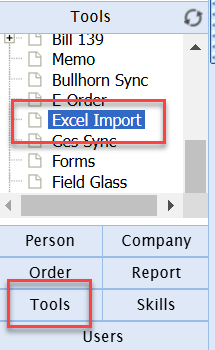
- To upload the received / completed Master Timesheet file you previously sent to your Customer, select Tools (found in the lower left corner menu), and then select Excel Import.
- Note: The Excel file returned from your Customer, containing the approved hours, shall serve as an approval of the employee(s) hours.
-
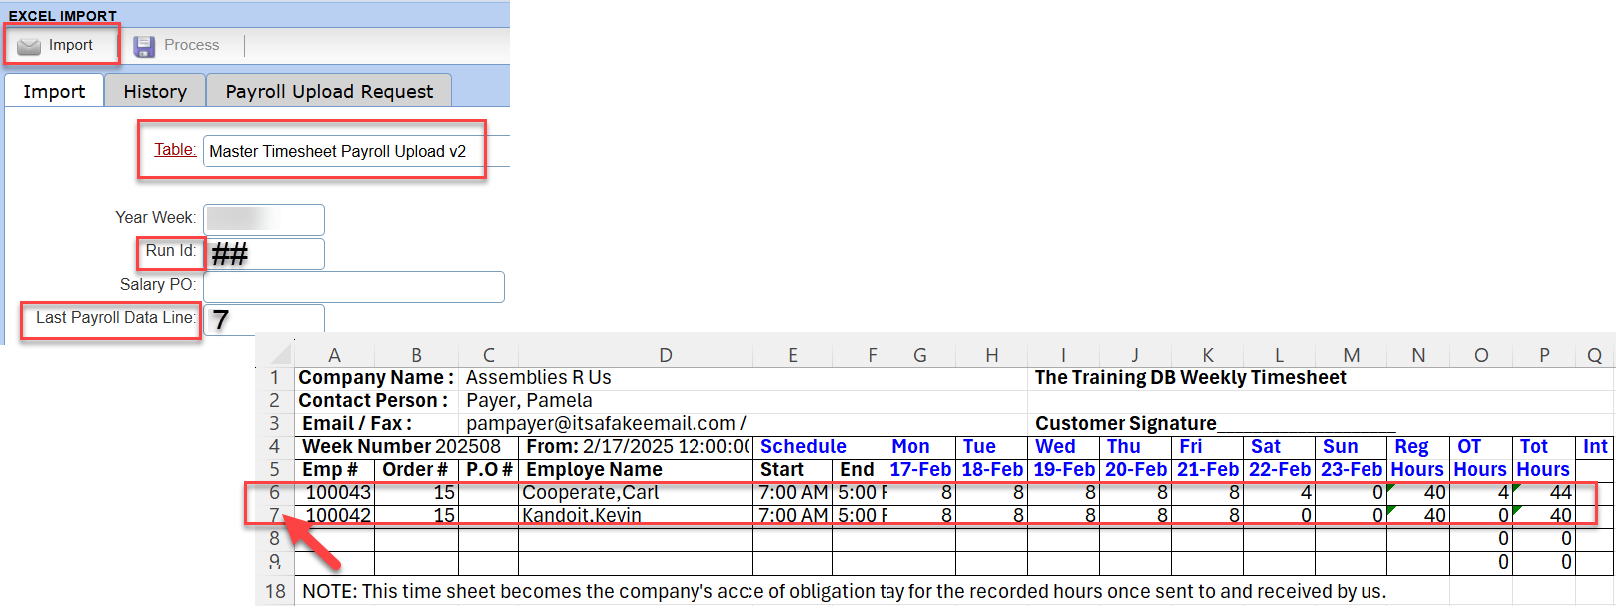
- Complete the below items, then select the Import button.
- Table drop-down, select Master Timesheet Payroll Upload v2.
- Year Week will auto populate with current payroll week.
- Run ID: Enter desired 2-digit Run ID to represent hours from the uploaded timesheet.
- Last Payroll Data Line: type in the number indicating the last line of payroll data seen in the excel spreadsheet to be imported.
-
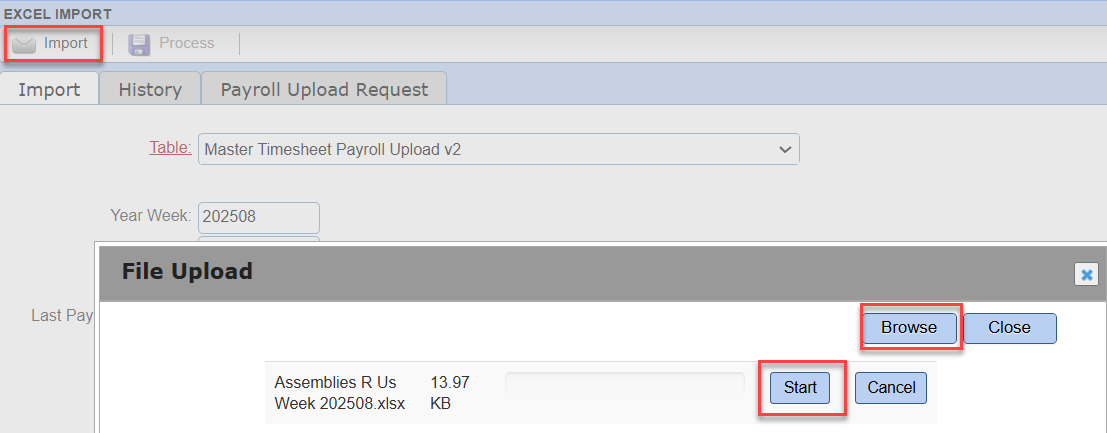
- After selecting the Import button, a popup will appear, select Browse and navigate to the saved Excel file you wish to import. Select the Start button to begin the upload of the file.
-
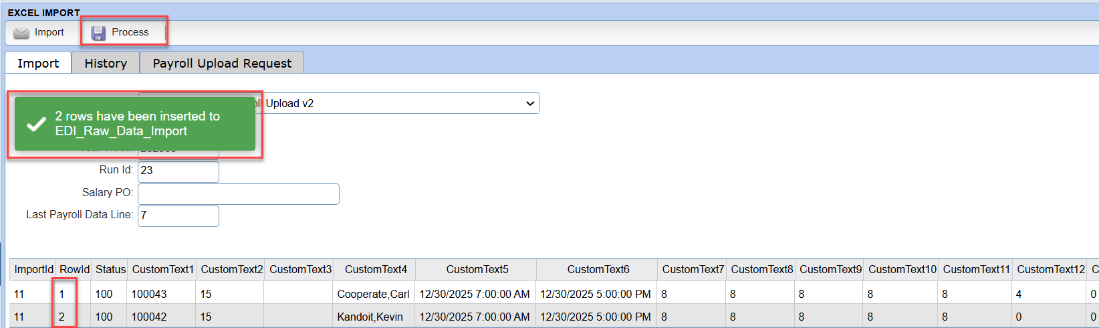
- A message will appear advising how many rows of data were inserted from upload along with a snippet of the actual line items that were imported. Select the Process button
-
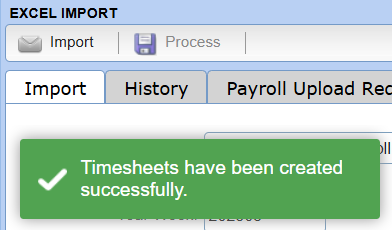
- A confirmation message will appear confirming the upload was successful.
-
- To view the payroll run you just created via the import, open into the Payroll Run area of Stafftrak by selecting the Payroll toolbar icon (gold dollar sign toolbar icon).
-

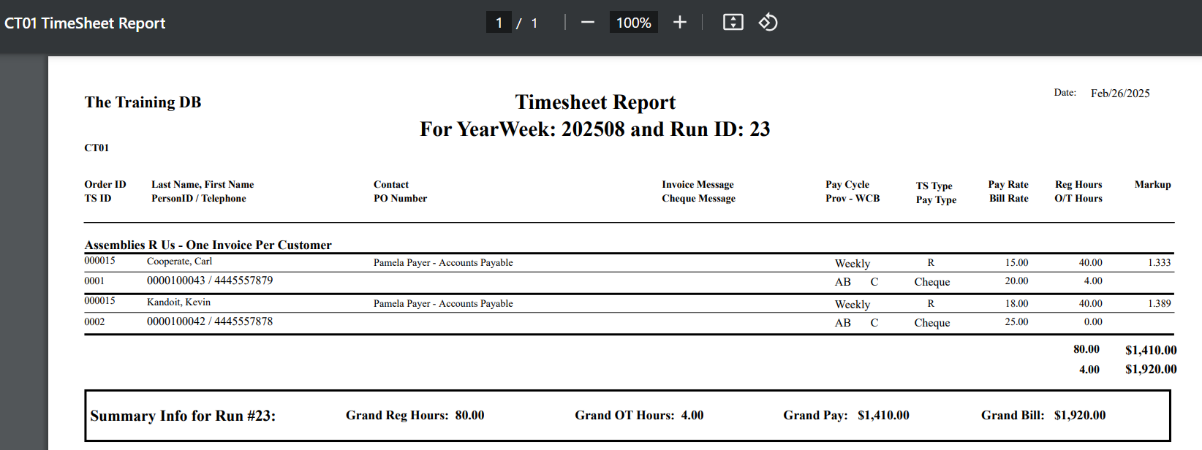
- Follow next payroll steps, and check your TS report for the run. Ensure hours have been uploaded correctly, ensure hours balance to upload and no assignment employees are missing.
-
- After verifying the TS Report, ensuring all is checked, you can now proceed with the Payroll Export.
ARTICLE INFORMATION
Tags
Stafftrak, master timesheet, upload, excel
Subject Matter Expert (SME)
Customer Care Team – customercare@people20.com
Document Created / Maintained by
Americas Learning and Development – training@people20.com